Getting Started with Marbling Art
An introduction to the ancient Turkish art of ebru, covering basic techniques, materials you'll need, and how to create your first marbled patterns at home without expensive equipment.
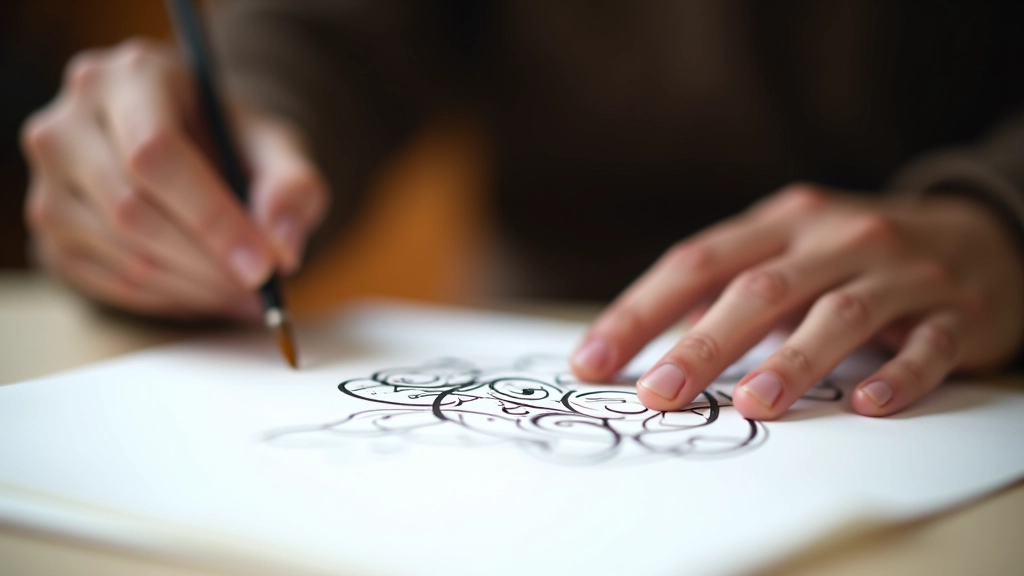
What Is Marbling Art?
Marbling, or ebru as it's called in Turkish, is an ancient technique that creates stunning, one-of-a-kind patterns on paper or fabric. You'll paint on water, then carefully transfer your design to your surface. It sounds complicated, but honestly, it's not. The process is more forgiving than you'd think — there's room for happy accidents.
The art form dates back centuries in Ottoman culture. It's been used to decorate manuscripts, book covers, and textiles. What's fascinating is that no two pieces are ever identical. Even if you try to recreate the same pattern twice, you'll get something beautifully different. That's the magic of working with water and paint.
01
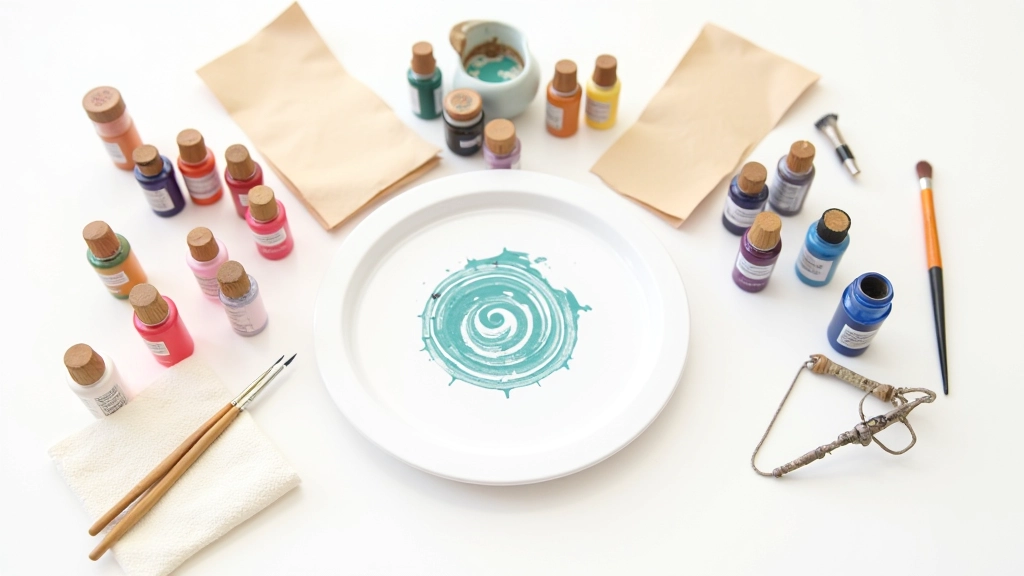
Materials You'll Actually Need
Don't worry about expensive supplies. You probably have half of these at home already. The basic setup costs around 30-50 euros if you're starting completely from scratch.
- A shallow container (a baking pan works perfectly)
- Water — regular tap water is fine
- Oil-based paints or special marbling inks (acrylics won't work)
- Brushes or wooden sticks for swirling
- Paper or thin cotton fabric to transfer your design
- A thickening agent — methyl cellulose or carrageenan
The thickening agent is key. It helps the paint float on the water instead of sinking. You'll mix it with water until it has the consistency of slightly thick cream. Most craft stores carry it, or you can order online.
02
The Basic Technique
Here's the step-by-step process. It'll take you about 30-45 minutes once you've got everything set up.
Step 1: Prepare Your Water
Fill your container with water and mix in the thickening agent. You're looking for a slightly viscous liquid — not thick like syrup, but thicker than plain water. Let it sit for 15 minutes so any air bubbles rise to the surface.
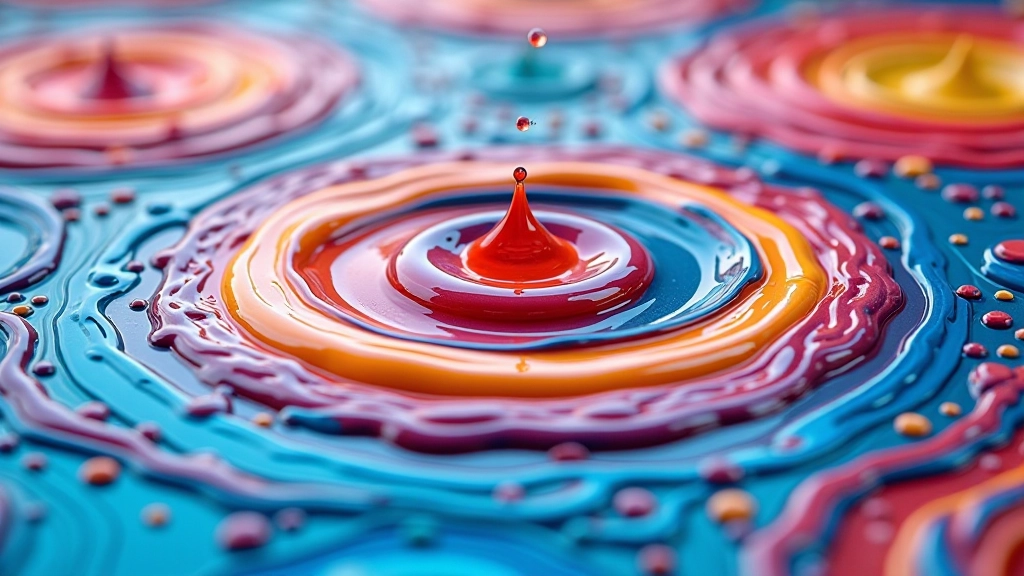
Step 2: Drop Your Paint
Dip your brush in paint and touch it to the water surface. The paint will spread into a thin film. Use 3-5 colors for a complex pattern. Don't overthink it — just drop and see what happens.
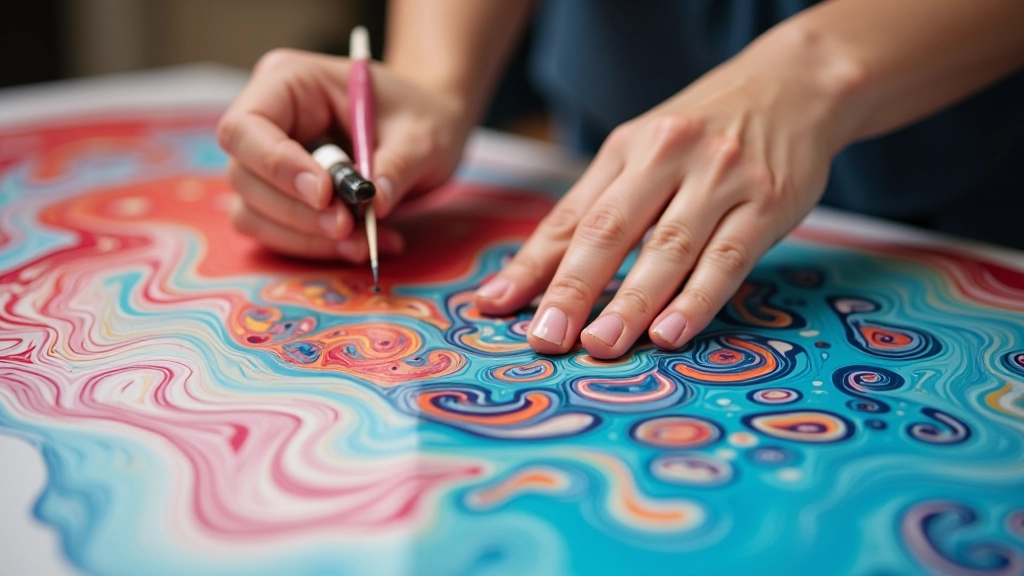
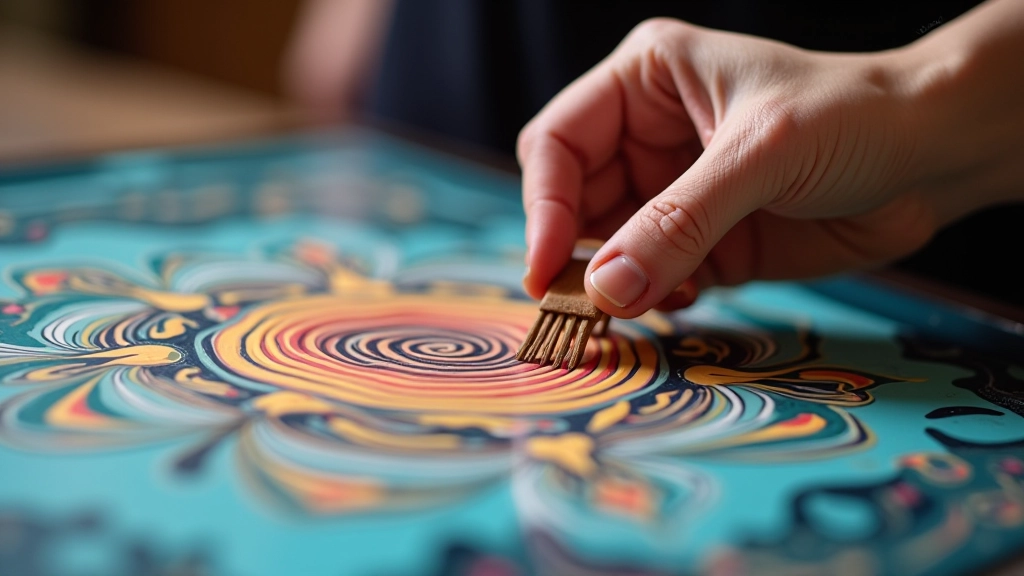
Step 3: Swirl and Drag
Use a brush or stick to drag through the paint, creating patterns. You can make concentric circles, combs, or flowing lines. Each movement creates a different effect. Experiment freely here — there's no wrong way.
Step 4: Transfer to Paper
Gently lay your paper or fabric on top of the water, starting from one edge. Let it sit for 2-3 seconds, then carefully lift it off. You've just transferred your marbled pattern!

03
Pro Tips for Better Results
You'll make mistakes — that's normal. But here's what actually makes a difference when you're starting out.
Water Temperature Matters
Slightly warm water works better than cold. It helps the paint spread more evenly. Room temperature is fine if you don't have warm water available.
Paint Consistency Is Key
Your paint shouldn't be too thick or too thin. If it sinks immediately, thin it with a little mineral spirits. If it doesn't spread, add more solvent.
Keep Your Paper Dry
Wet paper won't accept the paint properly. Make sure your paper is completely dry before you lay it on the water. Pat it gently with a clean cloth if needed.
One Pattern per Bath
Once you've transferred your design, you'll need to clean the water surface before starting again. Use a skewer or thin stick to skim off any leftover paint.
Mistakes You'll Probably Make (And That's Okay)
The paint sinks instead of floating. This means your water isn't thick enough. Add more thickening agent and try again.
Your pattern comes out muddy. You're probably using too many colors or mixing them too much. Stick to 3-4 colors maximum. And don't swirl endlessly — less is often more. You want defined patterns, not soup.
The design doesn't transfer to your paper. Your paper might be too wet, or you didn't lay it down gently enough. Practice the motion a few times before actually using good paper. It's a subtle skill but you'll get it after 3-4 tries.
The whole thing feels too messy. Honestly? It is. Wear old clothes, work over newspaper, and don't stress about spills. This is a hands-on craft. You're going to get paint on yourself. That's part of the experience.
Disclaimer: This article is educational information about marbling art techniques. Results will vary based on individual skill, materials used, and practice. Always follow safety guidelines when working with paints and solvents, ensure proper ventilation, and test materials before use. The techniques described are traditional methods — variations exist depending on regional practices and available supplies.
Ready to Create?
Marbling isn't difficult. It's genuinely fun, and you'll be amazed at what you create in your first session. Start simple. Don't buy expensive supplies yet. Grab a baking pan, some basic paints, and paper. Spend an afternoon experimenting. You'll get hooked.
The beautiful thing about marbling is that it's forgiving. Every mistake teaches you something. Every happy accident becomes part of your style. That's what makes this ancient art form still relevant after centuries.
Discover More Creative Hobbies