Calligraphy Workshops: Turkish Script Techniques
Ottoman calligraphy isn't just writing—it's a discipline that combines precision, patience, and artistic expression. If you've ever watched someone create flowing letterforms with a single stroke, you'll understand why this craft has captivated artists for centuries.
Modern workshops across Istanbul and Ankara are bringing these techniques back to life. You'll learn the same methods that were perfected in palace scriptoriums, adapted for contemporary practice. This guide covers everything from understanding your tools to mastering the fundamental strokes that form the foundation of Turkish script.
What You'll Discover
- The essential tools and materials used in professional workshops
- How different inks and papers affect your letterforms
- Step-by-step methods to develop steady hand control
- The foundational strokes that unlock all Turkish script variations
The Right Tools Make All the Difference
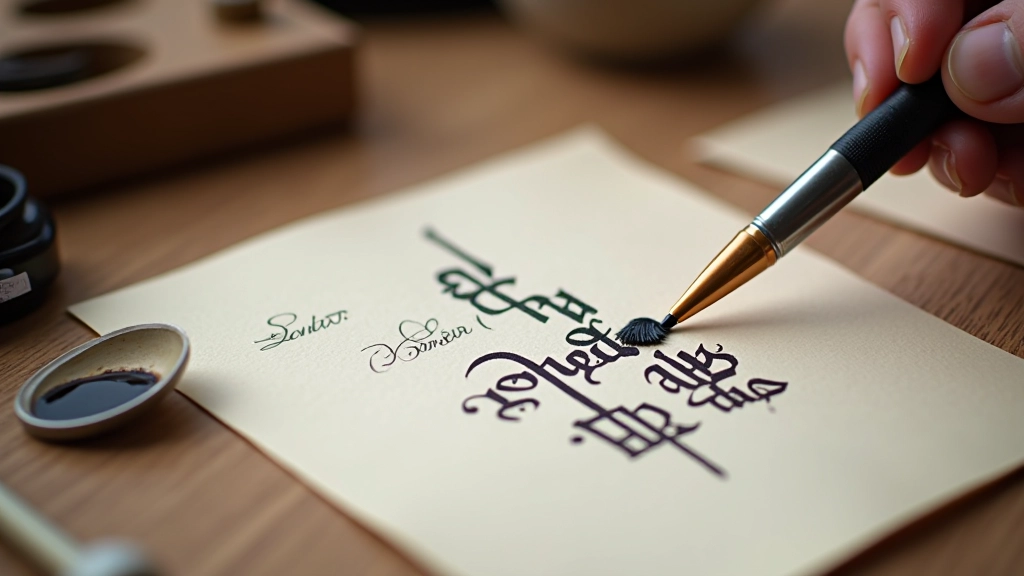
You can't create flowing letterforms without proper equipment. Turkish calligraphy traditionally uses reed pens—called "kalem"—cut at specific angles. A typical workshop starter kit includes pens ranging from 1mm to 3mm width. The narrower pens give you fine control for detailed work, while wider ones create bold, expressive strokes.
The ink matters just as much as the pen. Turkish workshops often use carbon-based inks that flow smoothly without feathering. Modern synthetic alternatives work well too, but they behave differently on different papers. Most instructors recommend starting with Indian ink or specifically formulated calligraphy ink. You'll also need smooth, absorbent paper—traditional options include rice paper or specialized calligraphy sheets with a slight tooth that grips the ink without bleeding.
Experienced calligraphers often spend time experimenting with combinations before finding their preferred setup. It's not uncommon to test five or six different pens and papers before settling on what feels natural in your hand.

Foundational Strokes and Hand Control
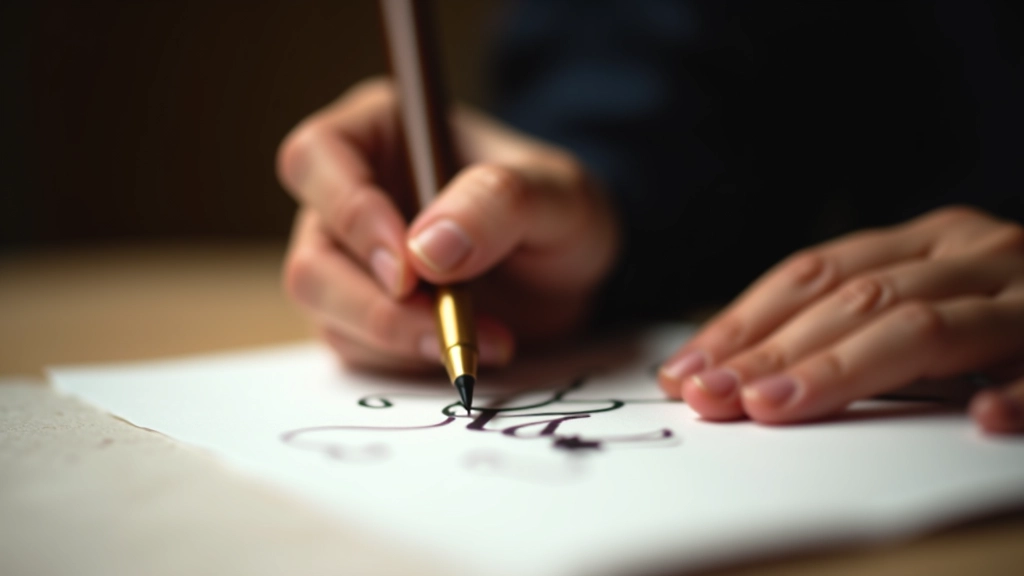
Every script begins with basic strokes. Turkish calligraphy workshops start students with three fundamental movements: the vertical downstroke, the diagonal sweep, and the controlled curve. These aren't just warm-up exercises—they're the building blocks for every letter you'll eventually create.
The downstroke teaches pressure control. You'll learn to maintain consistent width while moving vertically down the page. This takes about 2-3 weeks of regular practice to develop muscle memory. Most workshops dedicate the first month to just these basic movements, and that's intentional. Rushing through them guarantees problems later.
Turkish script specifically demands understanding how letters connect. Unlike Western calligraphy where letters often sit independently, Ottoman letterforms flow into one another. The joining strokes are where most beginners struggle. Workshops address this by having you practice connecting pairs—"ba," "ta," "sa"—before attempting full words.
Understanding Ottoman Letterforms
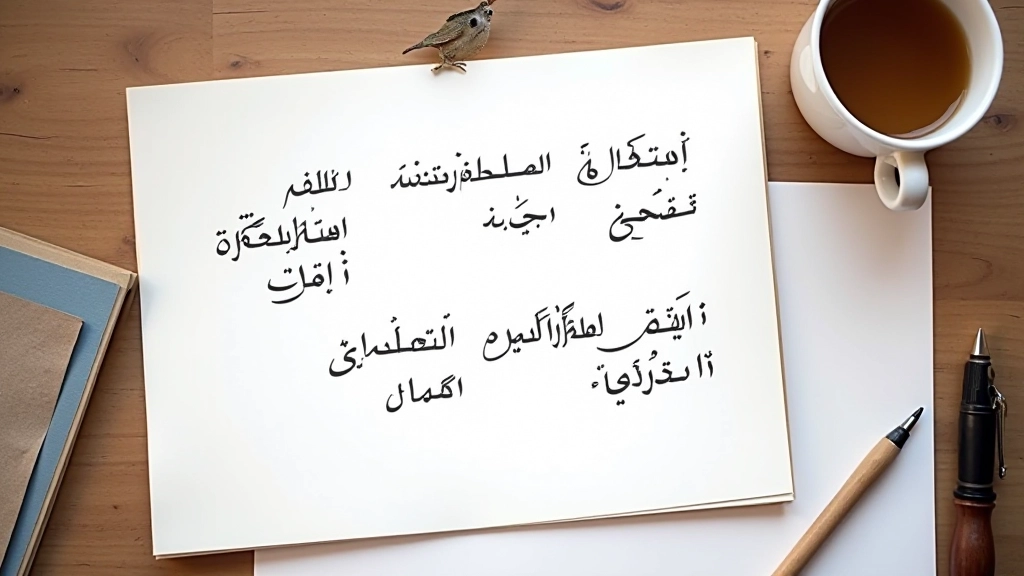
Turkish script encompasses several distinct styles. The most commonly taught in beginner workshops is "Diwani," characterized by elongated vertical strokes and elaborate flourishes. You'll also encounter "Talik," which features a more flowing, almost cursive quality. These aren't interchangeable—each has specific rules about angle, spacing, and connection.
Diwani script, favored for formal documents and poetry, uses a pen angle of about 40 degrees. The letterforms stack vertically with minimal horizontal spacing, creating a dense, elegant appearance. When you're learning Diwani, the challenge isn't just forming individual letters—it's understanding how the overall composition should look. A well-balanced Diwani page feels rhythmic, almost musical in its arrangement.
What makes Turkish workshops valuable is that instructors don't just show you letterforms. They explain the historical context—why certain angles developed, how regional variations emerged, and which styles remained popular through different Ottoman periods. This understanding helps you make intentional artistic choices rather than just copying shapes.
Building Your Practice Routine
Consistency beats intensity in calligraphy. A 30-minute daily session is more effective than a 3-hour weekend marathon. Your hand needs time to develop the fine motor control required for precision work. Most workshops recommend students practice 4-5 times weekly, dedicating the first 10 minutes to basic strokes and the remaining time to letterforms or connected words.
The progression is deliberate. Weeks 1-4 focus on stroke control. Weeks 5-8 introduce individual letterforms in isolation. Weeks 9-12 emphasize connections and word formation. By week 16, you're typically working with full phrases or short poems. This pacing allows your hands to develop strength and muscle memory gradually rather than forcing complex work before you're ready.
Here's what separates workshops from self-teaching: direct feedback. An instructor can see your pen angle, notice if you're applying uneven pressure, and catch habits that'll create problems later. They'll watch your entire arm movement, not just the final marks on paper. That real-time correction saves you months of practicing bad habits that are hard to break.

Common Challenges and How to Overcome Them
Inconsistent Line Width
This usually means your pen angle is shifting. Check that your wrist stays at the correct angle throughout each stroke. It helps to mark a guideline on your practice paper showing the exact angle your pen should maintain. Some calligraphers tape a small angle guide directly to their pen as a visual reminder.
Shaky or Uncontrolled Lines
You're likely gripping the pen too tightly. Relax your hand—the pen should rest lightly in your fingers. Your arm should move from the shoulder and elbow, not just your wrist. Tension creates trembling. Practice basic strokes slowly, focusing on smooth movement rather than speed.
Ink Feathering on Paper
The paper absorbs too much ink too quickly. Switch to paper specifically designed for calligraphy—it has a sizing that controls ink flow. If you're set on using regular paper, try paper with a slight gloss or tooth. Some calligraphers apply a thin sizing coat (diluted gum arabic) to regular paper before practice.
Letterforms Look Stiff
You're overthinking each stroke. Calligraphy flows best when you're confident and decisive. Once you understand the letterform, try writing faster—not recklessly, but with intentional momentum. Turkish script specifically benefits from flowing movement. Slower, hesitant writing often looks mechanical.
Educational Disclaimer
This article provides educational information about Turkish calligraphy techniques and workshop practices. While the techniques described are based on traditional methods and contemporary workshop instruction, individual results will vary depending on practice frequency, natural ability, and quality of materials used. The timeframes mentioned (weeks for specific skill development) are approximate guides based on typical student experiences and shouldn't be interpreted as guarantees. Calligraphy is a skill that develops at different rates for different people. We recommend attending in-person workshops or consulting with experienced instructors for personalized guidance on your specific practice needs.
Starting Your Calligraphy Journey
Turkish calligraphy isn't about creating perfect letters on the first try. It's about understanding the principles that guide the hand, developing muscle memory through consistent practice, and gradually discovering your own artistic voice within established traditions. Workshops exist because some knowledge is better transmitted person-to-person—watching how an instructor holds the pen, noticing the subtle movements that create flowing letterforms, getting real-time feedback on your technique.
If you're drawn to this craft, start with the basics. Get comfortable with your tools. Spend time on foundational strokes. Don't rush to create finished pieces until you've built genuine skill. Most importantly, be patient with yourself. Calligraphers who produce stunning work have typically practiced for years. Your first attempts won't be gallery-worthy—and that's completely normal. Every master started exactly where you are now, with a pen in hand and a blank page ahead.
Explore More Turkish Crafts