DIY Craft Projects You Can Do at Home
Simple home-based projects inspired by Turkish crafts. From decorative tile painting to textile dyeing and pressed flower designs, these projects need minimal space and everyday materials you probably already have.
Why DIY Crafting at Home Matters
You don't need a studio or expensive supplies to create beautiful handmade items. Turkish craft traditions have always emphasized working with what's around you — turning everyday materials into art. Whether you're looking for a weekend activity, a way to unwind after work, or something to do with kids, these projects fit right into your home routine.
The projects here follow Turkish craft principles but adapt them for modern homes. You'll find that most require just a kitchen table, natural light, and materials you likely have in drawers or cabinets. That's the beauty of it — creativity doesn't require fancy equipment.
What You'll Learn
- Simple tile and ceramic painting techniques
- Natural dye preparation and textile coloring
- Pressed flower preservation and mounting
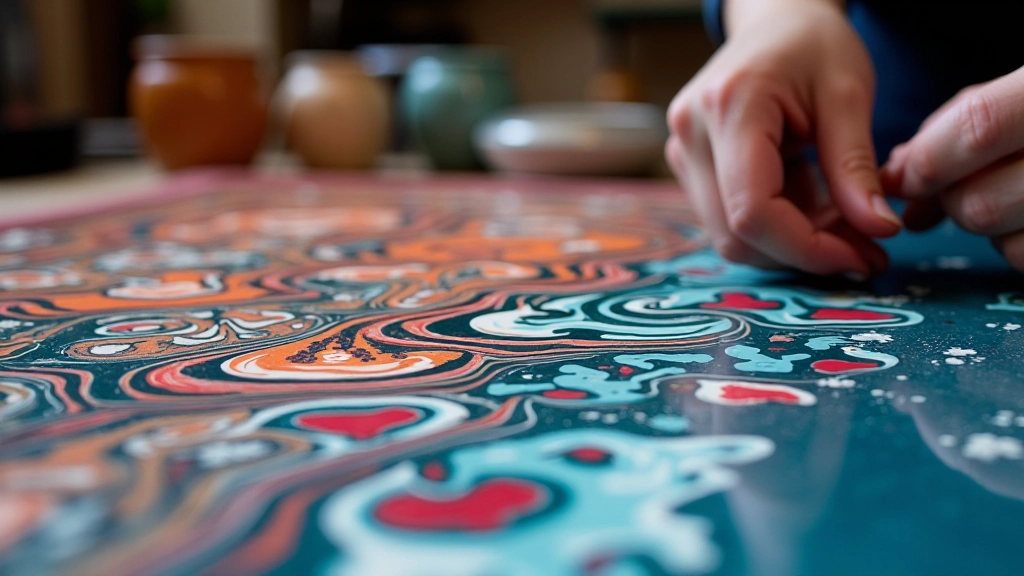
- Paper marbling basics with household items
- Creating decorative wall hangings
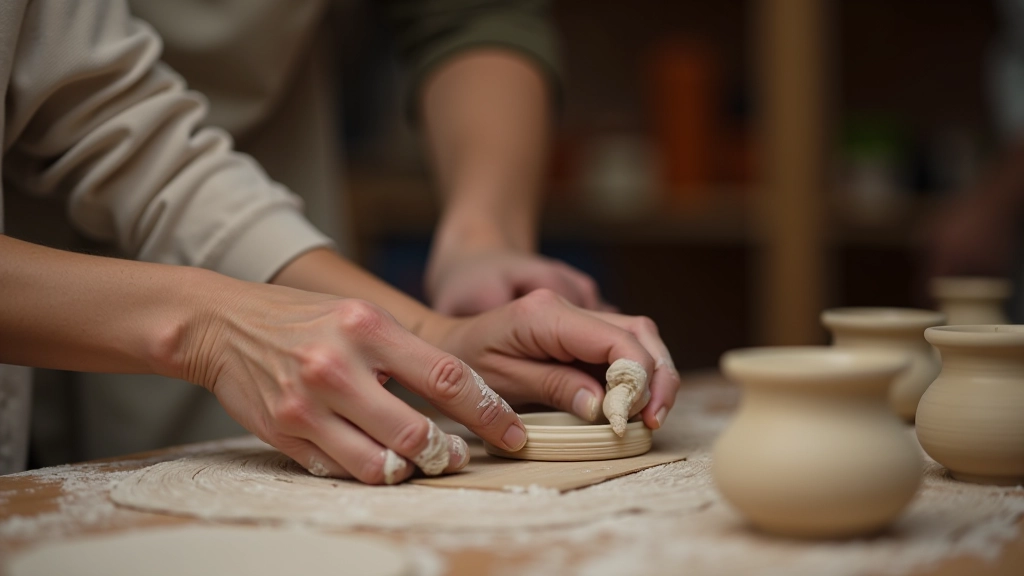
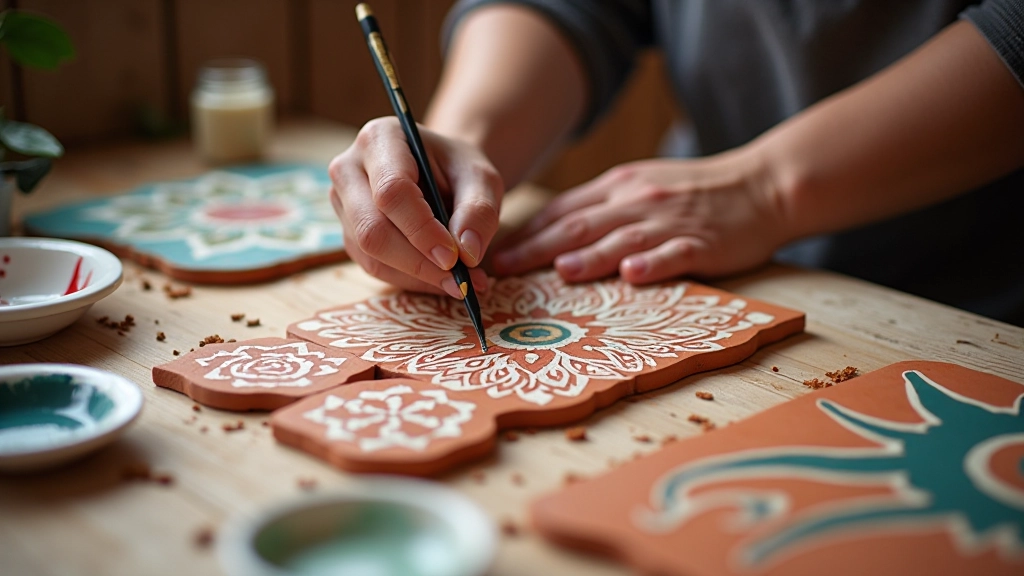
Decorative Tile Painting
Start with terracotta or ceramic tiles you can find at any hardware store. These become beautiful wall decorations or coasters with just some acrylic paint and patience.
The Turkish Iznik tradition of hand-painted tiles inspired this approach. You'll sketch a simple design — geometric patterns, floral motifs, or abstract shapes — then paint with acrylics. Most designs take 2-3 hours from sketch to final coat. Use a sealant afterward so they last years without fading. Group 4-6 tiles together on a wall and they transform a whole room. The satisfaction comes from seeing something you created become functional décor.
Materials needed:
- Terracotta or ceramic tiles (20×20 cm)
- Acrylic paint set
- Fine-tipped brushes
- Clear matte or glossy sealant
- Pencil for sketching
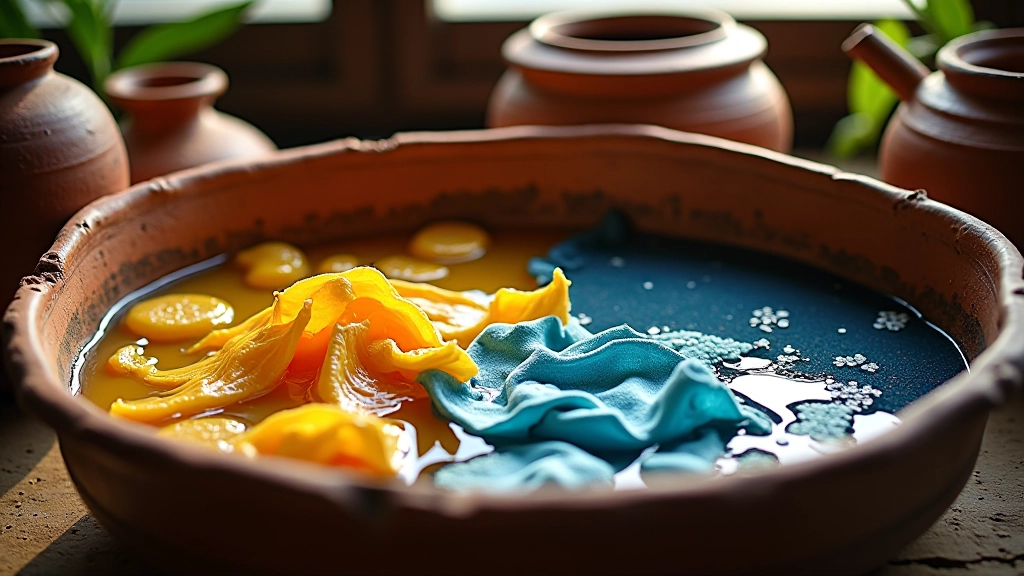
Natural Textile Dyeing
Dye fabric using plants and spices you probably have in your kitchen. Onion skins give deep yellows and golds. Turmeric produces bright yellow. Indigo creates blues. Coffee creates browns.
This connects directly to Turkey's indigo and madder dye traditions. The process takes patience but isn't complicated. You'll simmer plant material in water for 30-45 minutes to create the dye bath, strain it, then soak your fabric. Cotton and linen work best — they hold color beautifully. After dyeing, let fabric dry flat and the colors deepen over a few days. You'll create scarves, tote bags, or kitchen cloths with truly unique colors you won't find in stores.
Materials needed:
- Plant material (onion skins, turmeric, indigo)
- Cotton or linen fabric
- Large pot for dyeing
- Water
- Optional: alum for color fixing
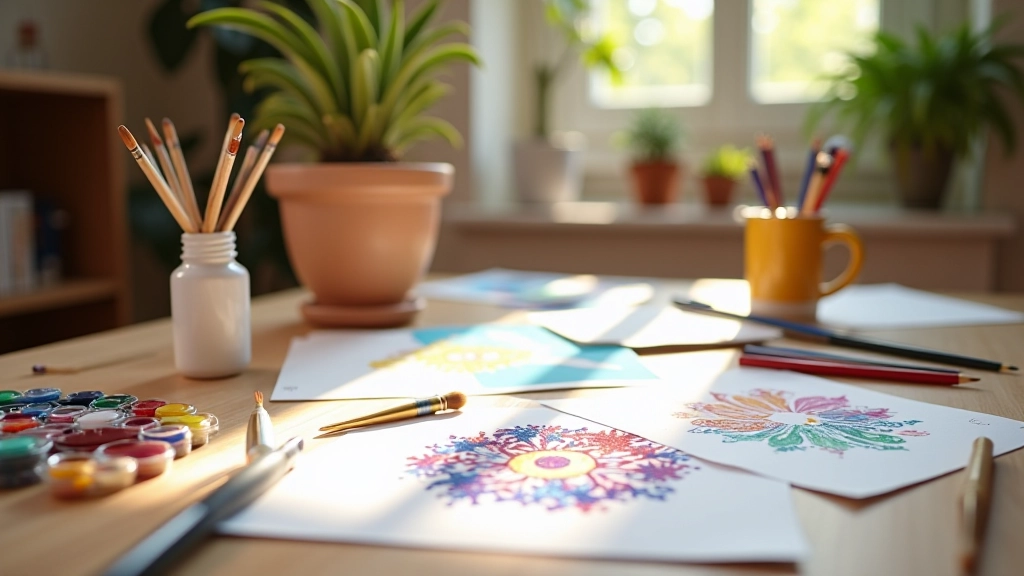
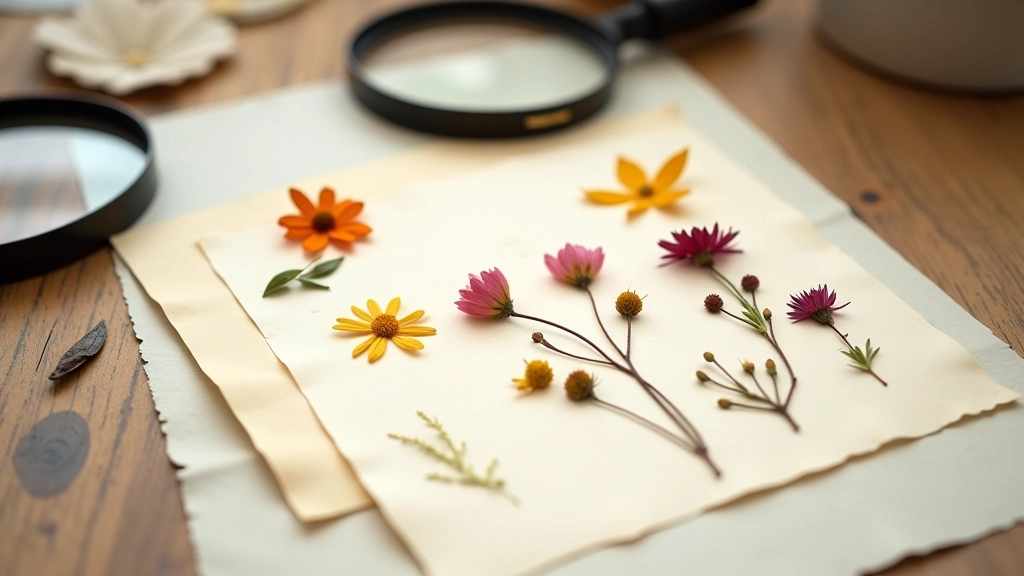
Pressed Flower Art
Collect wildflowers, garden blooms, or pressed leaves, then arrange them into framed wall art. This project preserves beauty while creating something genuinely personal to your home.
Pressing flowers takes time but requires almost no skill. Pick flowers at their peak, place them between paper towels, then stack heavy books on top. Wait 2-3 weeks and they're completely dried and flattened. Then arrange them on archival paper — geometric patterns, botanical compositions, or scattered designs. Frame them behind glass and you've got museum-quality art made at your kitchen table. The advantage? Each piece is completely one-of-a-kind. You're not copying a design — you're creating something that exists nowhere else.
Materials needed:
- Fresh flowers and leaves
- Paper towels or newsprint
- Heavy books for pressing
- Archival paper or cardstock
- Craft glue or adhesive
- Picture frame with glass

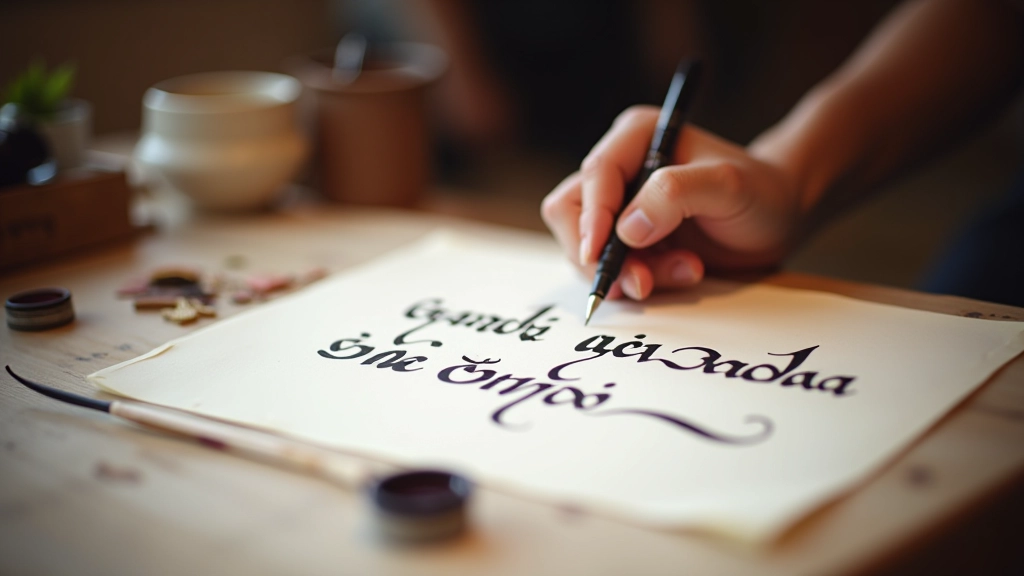
Essential Techniques to Master
Brush Control
Hold your brush like a pencil for detail work, further back for broader strokes. Practice on scrap paper first. Steady hands come from supporting your arm, not trying to be perfectly still.
Color Mixing
Start with primary colors and mix your own shades. This gives you infinite color variations and teaches you how colors actually work. A little goes a long way with acrylics.
Pattern Planning
Light pencil sketches prevent mistakes. Turkish patterns often use symmetry — fold your paper and sketch half the design, then mirror it. This creates balanced, professional-looking results.
Drying Times
Don't rush. Acrylics dry fast (15-30 minutes) but layering works best with proper drying between coats. This prevents colors from muddying together.
Tips for Success at Home
These aren't complicated projects, but a few things make them go smoother.
Protect Your Workspace
Use newspaper, old tablecloths, or kraft paper under everything. Paint and dyes stain — it's not tragic but planning ahead saves cleanup time. A plastic sheet under your dye pot is smart too.
Start Small
Don't begin with a huge canvas or expensive fabric. Small tiles, coasters, or fabric scraps let you practice without pressure. Once you're comfortable with techniques, scale up.
Keep Good Lighting
Natural light is ideal for seeing true colors. Work near a window when possible. If working at night, use a desk lamp with good color-accurate bulbs.
Invest in Quality Basics
Don't spend huge amounts, but good brushes and decent paint make real differences. Cheap brushes lose bristles. Mid-range materials from art supply stores work perfectly fine.
Important Notes
These projects are meant for personal enjoyment and learning. Results depend on individual skill, materials used, and practice. Natural dyes vary in intensity based on plant material and water quality in your area. Always use non-toxic materials when crafting with children, and ensure proper ventilation when working with dyes or sealants. If you have sensitive skin, wear gloves when handling dyes and paints.
Start Creating Today
These projects aren't about being perfect. They're about enjoying the process and creating something with your hands. Turkish craft traditions survived centuries because people valued the act of making — the meditation of painting, the transformation of materials, the satisfaction of finishing something you started.
You'll find that once you complete your first project, you'll want to try the next one. Maybe you'll develop a favorite technique. Maybe you'll combine approaches — dyed fabric as the base for a painted design, pressed flowers arranged on painted tiles. The beautiful part is there's no wrong way. Start with what appeals to you, gather simple materials, and begin. That's truly all it takes.
Explore More Craft Techniques